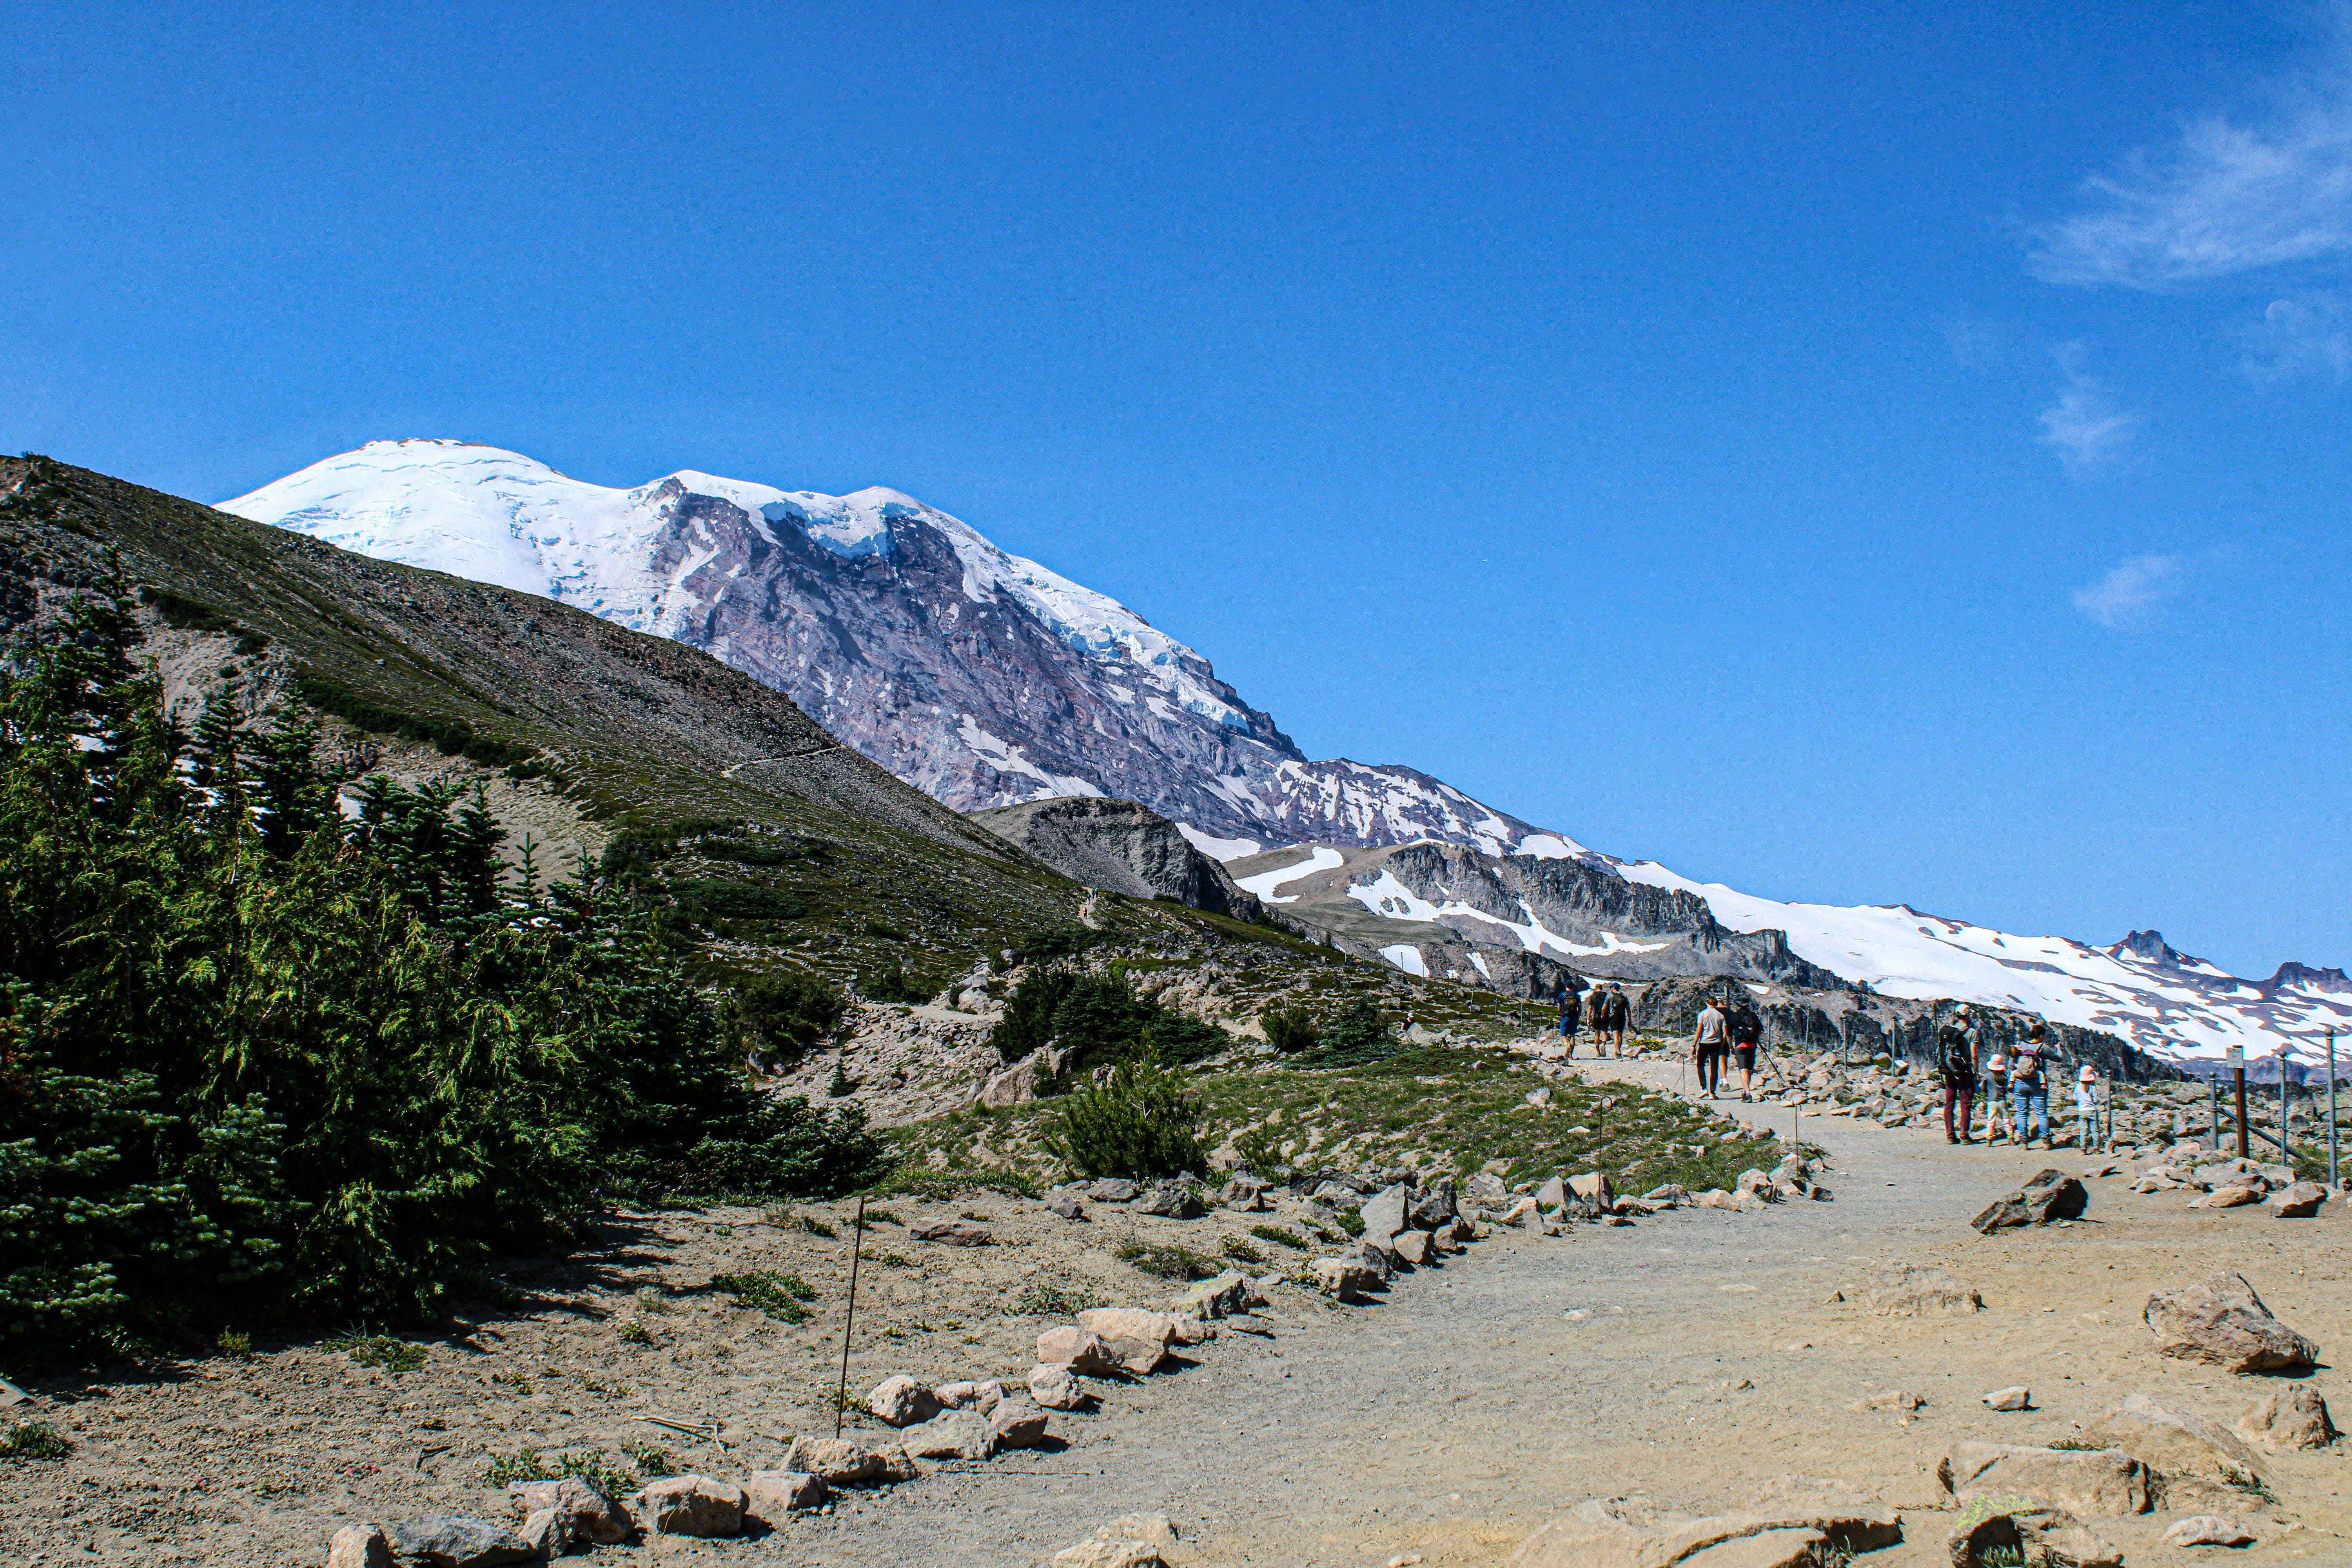
Mount Kilimanjaro Destination Guide
Your epic adventure to the Roof of Africa is just around the corner. This guide contains essential information for your journey.
.jpg)
🚨INSURANCE DISCLAIMER🚨: High altitude insurance is required for this itinerary. Due to the trek’s high elevations, travel insurance covering high-altitude treks is required to be purchased before departure. TrovaTrip recommends World Nomad’s Standard Policy, which covers treks up to 19,685 feet (6,000 meters): worldnomads.com.
Essential Travel Information for Mount Kilimanjaro
Everything you need to know before your Kilimanjaro trek
Airport & Transportation
- Airport: Kilimanjaro International Airport (JRO)
- Arrival: Arrive by 4:00 PM so you have time to settle in before your Gear Check and Welcome Dinner at 5:30 PM (exact time subject to change).
- Book Transfers: Airport transfers can be booked through the TrovaTrip Portal approximately 30 days before the trip, or you can arrange your own.
- Transfer Duration: The transfer from JRO to Moshi typically takes about 1 hour.
- Flights: Need help searching for a flight? We recommend Skyscanner.com to compare different routes and rates. Click here to search!
Group Communication
- Visa: A visa will be required for entry into Tanzania. You can apply online through our visa partner, Sherpa, by visiting our visa page here.
- Please note you will need your hotel name and address for the application. This can be found on your itinerary in our portal.
- Entry Requirements: Entry requirements can change without notice, so please stay up to date by visiting the embassy website for current guidelines.
Baggage Information
- Porter Duffel: Cannot exceed 33lbs (15kg)
- Daypack: Use as your carry-on! During your trek, carry essentials in your daypack, including water, a camera, binoculars, and your rain jacket and pants. Be sure to include anything else you may need during the day, as you won’t have access to your porter-carried gear until you reach camp.
- Storage: Hotel provides free luggage storage and safety boxes ($1-4/day)
- Travel Tip: Invest in AirTags for your luggage!
Health & Medication
- Altitude Medication: Talk to your doctor about what’s right for you!
- Personal Medication: Bring enough for the entire trek
- First Aid: Guides carry medical kits, but it’s wise to bring your own essentials.
- Travel Insurance: Make sure your policy covers high-altitude trekking.
-
Vaccines: Unsure which vaccines you need? Click here for guidance.
Packing List
Essential gear for your Kilimanjaro expedition
Porters can carry up to 15 kg (33 lbs) of your personal gear, so pack selectively and avoid overpacking. While hiking, you’ll carry a 30–35 L daypack with your essentials, and your main luggage should fit in a 50–90 L duffel for the porters.
Gear & Equipment
- Daypack (30-35L)
- Daypack rain cover
- Waterproof/water-resistant 50-90L duffel bag
- Hydration bladder (2-3L)
- Sleeping bag (-15 Degree F Bag)
- Sleeping pad & bag Liner (optional)
- Camp pillow
- Trekking poles (optional)
- Soft flask (for electrolytes)
- Headlamp + extra battery
- Portable power bank + cord
- Waterproof jacket
- Insulated jacket (down)
- Soft/fleece jacket
- Long & short sleeve shirts (moisture-wicking)
- Camp shoes
- Waterproof hiking pants
- Fleece pants
- Shorts
- Long underwear (moisture-wicking)
- Gloves (waterproof recommended)
- Hats (brimmed for sun protection and beanies for warmth)
- Hiking boots
- Socks (hiking, wool)
- Gaiters (waterproof)
- Balaclava or Buff
Hygiene Items
- Toiletries bag
- Hand sanitizer
- Kula cloth (optional)
- Toilet paper
- Wet wipes
- Toothbrush
- Toothpaste
- Deodorant
- Lotion
- Shower toiletries
- Basic first aid kit
- Travel towel
- Throat lozenges
- Hair ties
- Tampons/Menstruating Products
- Chapstick
- Toe Nail Clippers
- Body Glide
Other Essentials
- Bug spray (with DEET)
- Personal medication, pain relievers, anti-diarrheal/nausea
- Empty Ziplock bags
- Local currency/USD (tips for guides, etc.)
- Wallet, driver's license, credit/debit cards
- Passport
- Bug spray (for the rainforest days)
- Sunscreen
- Electrolytes
- Dry bags
- Hand & feet warmers
- Travel insurance details
- Immunization papers
- Waterproof bags for important documents and electronics
- Reusable water bottle
- Binoculars
- Water purification tablets
Personal Items
- Earplugs
- Eye mask
- Tampons/menstruating products
- Glasses/contacts/cleaning solution
- Brush
- Mirror
- Headband
- Garmin inReach (optional)
- Camera/GoPro
- Watch + charger
- Snacks
- Book/Kindle
- Sunglasses
- Electronic device chargers & batteries
- Power banks
Rental Equipment
Zara Tours provides tents, food, and foam sleeping pads at no extra cost, and many items on the packing list can be rented on arrival. The rental shop is located at the same hotel where the group stays, so you can pick up your gear before the Equipment Check/Briefing and Welcome Dinner on the first night. Essential mountain equipment—such as sleeping bags rated to –25°C/–35°C, daypacks, ponchos, hiking poles, gaiters, rain gear, warm layers, gloves, long underwear, sunglasses, headlamps, and duffel bags—is available for rent locally (prices vary and are subject to change), making it easy to avoid traveling with bulky gear.
The Machame Route
Known as the "Whiskey Route," the Machame path is a 7-day journey to the summit of Kilimanjaro. One of the most scenic and popular routes up Kilimanjaro, offering stunning views and a variety of landscapes.
Day 1 of Trek: Machame Gate (6,000ft) to Machame Camp (9,950 ft)
Begin your journey through the beautiful rainforest on well-maintained trails. Look out for black and white colobus monkeys and exotic birds. The day ends at Machame Camp.
Distance: 7 mi | Hiking Time: 5-7 hours | Habitat: Rainforest
Day 2 of Trek: Machame Camp (9,950 ft) to Shira Camp (12,600 ft)
Leave the rainforest behind and trek across moorland with stunning views of Kibo Peak. Reach Shira Plateau and camp with panoramic views.
Distance: 4 mi | Hiking Time: 5-6 hours | Habitat: Moorland
Day 3 of Trek: Shira Camp (12,600 ft) to Lava Tower (15,200 ft) to Barranco Camp (13,000 ft)
An important acclimatization day. Climb to Lava Tower for lunch, then descend to Barranco Camp. The "climb high, sleep low" strategy helps with adaptation to altitude.
Distance: 7 mi | Hiking Time: 7-8 hours | Habitat: Semi-desert
Day 4 of Trek: Barranco Camp (13,000 ft) to Karanga Camp (13,250 ft)
Begin with the exciting Barranco Wall scramble, followed by a series of ups and downs through the alpine desert. Short day ending at Karanga Camp.
Distance: 3 mi | Hiking Time: 4-5 hours | Habitat: Alpine Desert
Day 5 of Trek: Karanga Camp (13,250 ft) to Barafu Camp (15,350 ft)
Short but steep climb to Barafu Camp, your base for the summit attempt. Rest and prepare your equipment for the midnight departure to the summit.
Distance: 2 mi | Hiking Time: 5-6 hours | Habitat: Alpine Desert
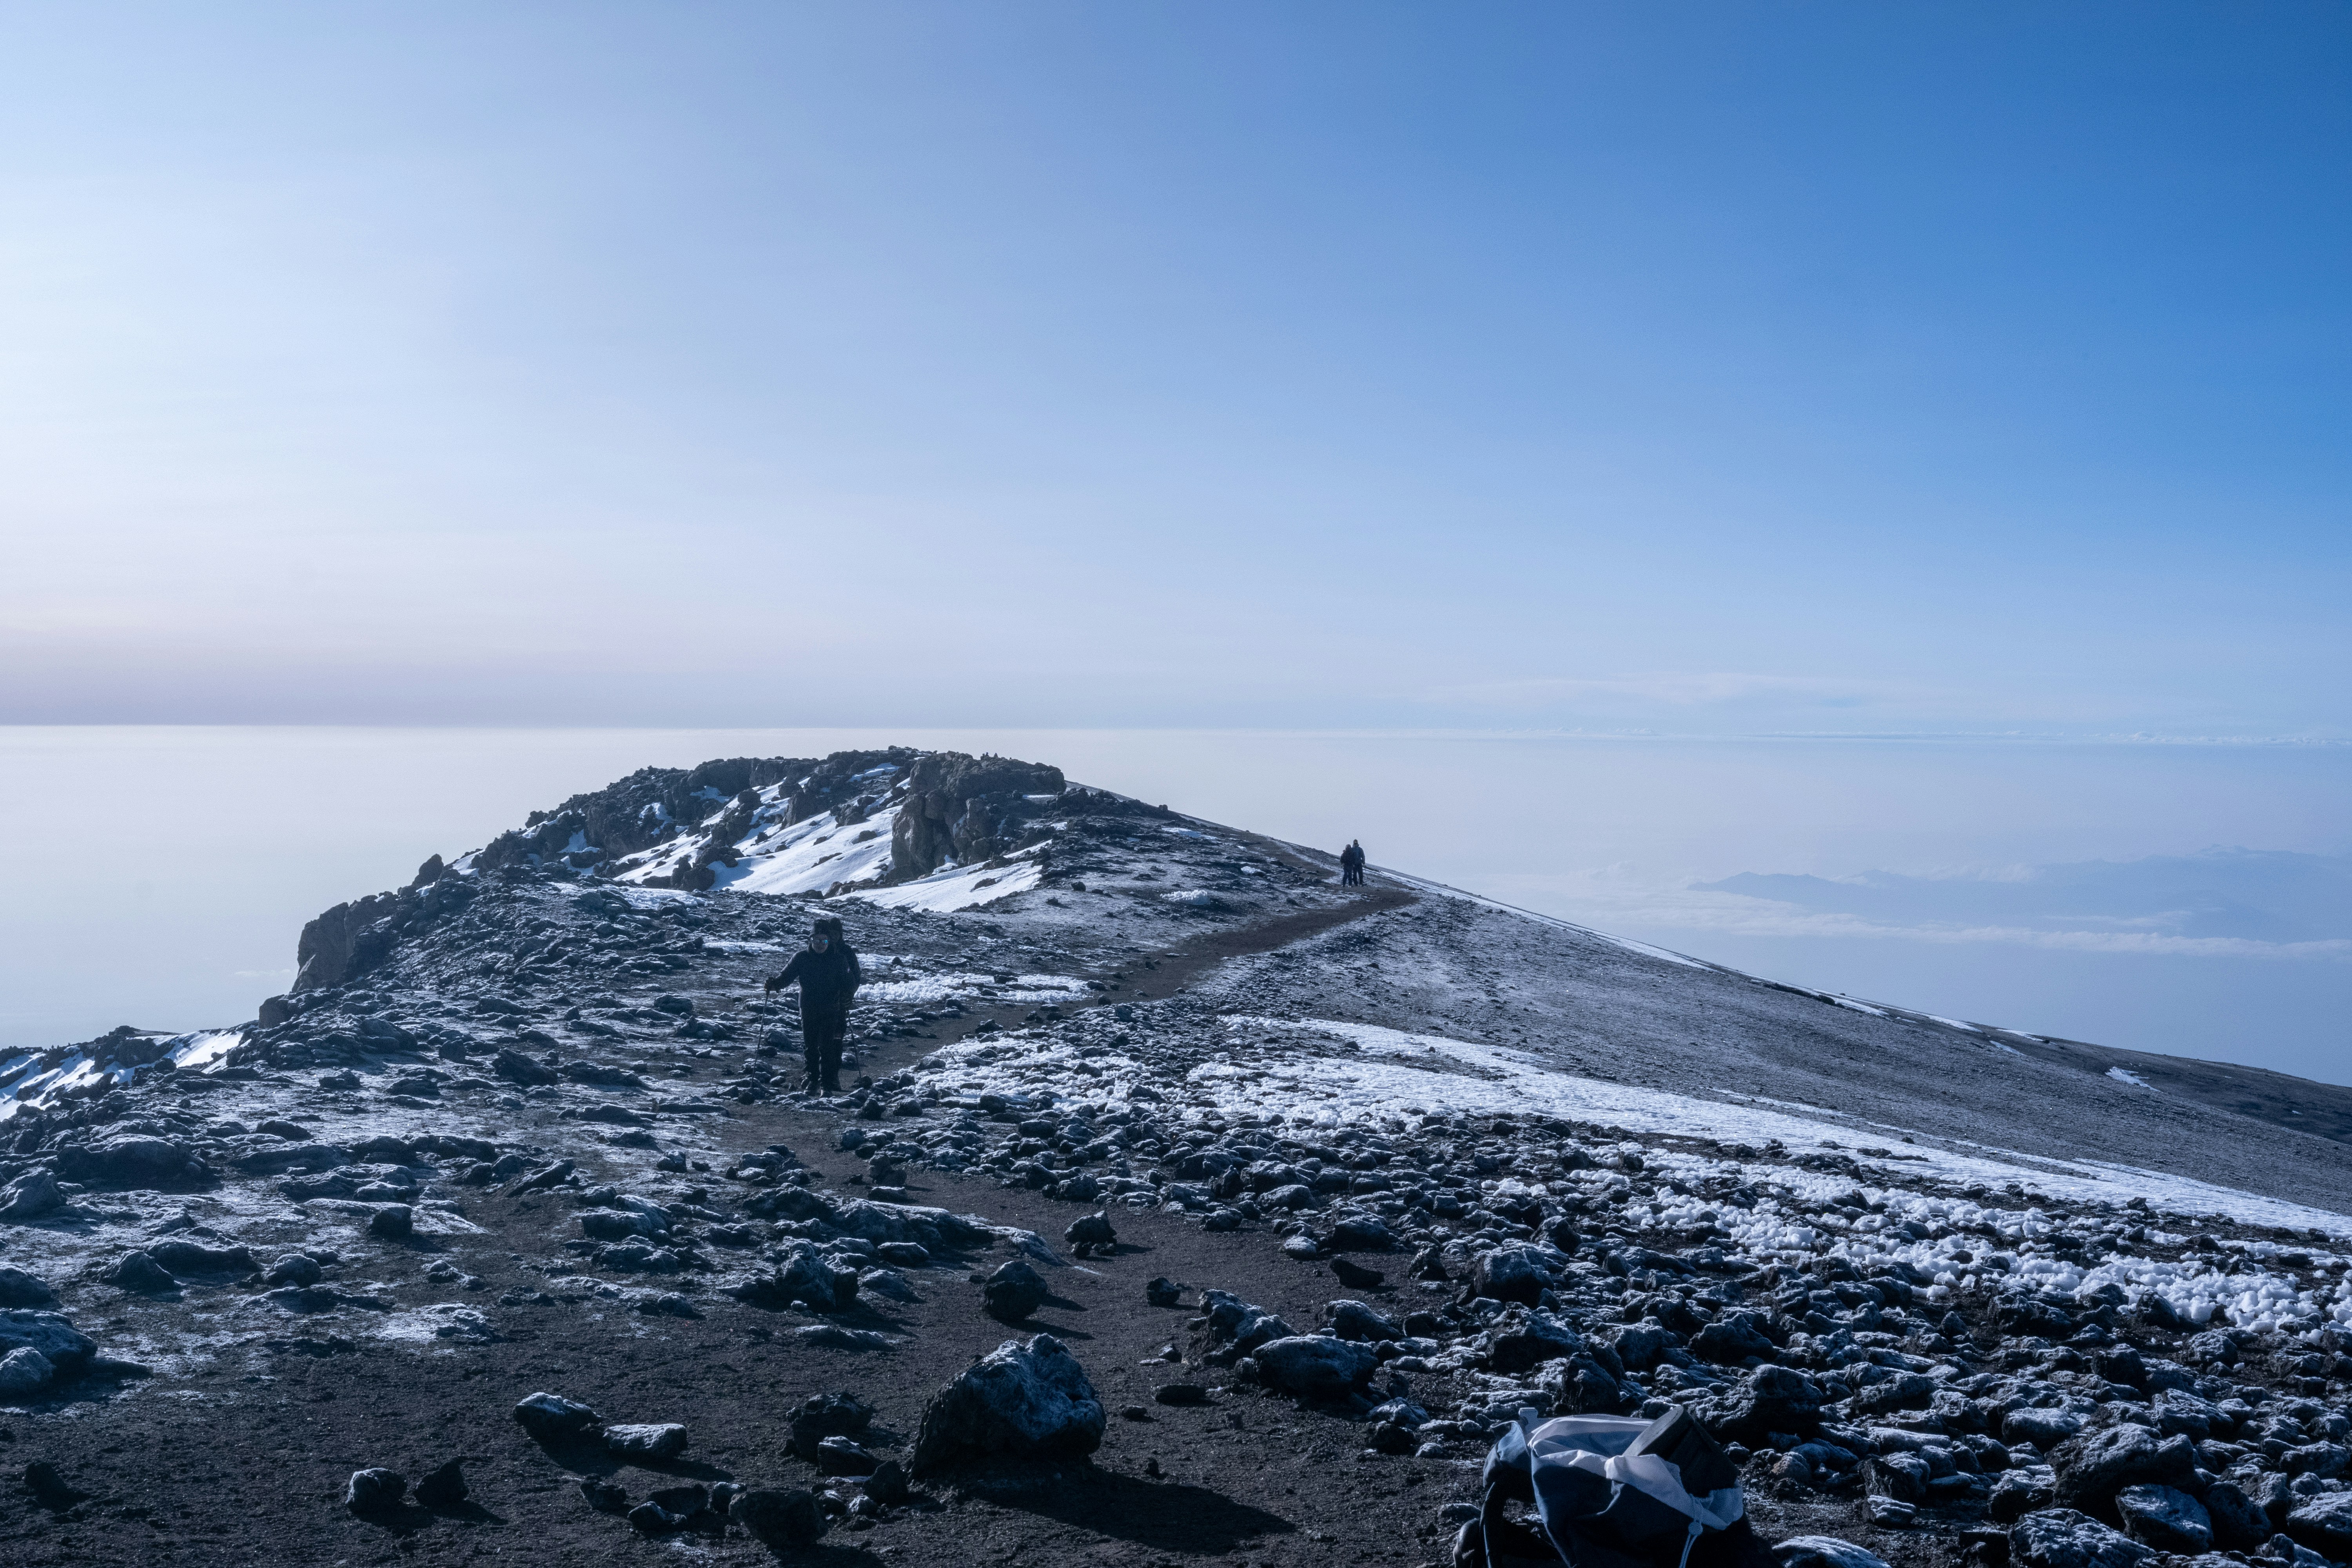
Day 6 of Trek: Summit Day! Barafu Camp (15,350 ft) to Uhuru Peak (19,340 ft) to Mweka Camp (10,150 ft)
Wake around midnight for the summit push. Reach Stella Point (5,756m) at sunrise, then continue to Uhuru Peak. Descend to Mweka Camp after summiting.
Distance: 3 mi ascent, 8 mi descent | Hiking Time: 7-8 hours ascent, 4-6 hours descent | Habitat: Arctic & Rainforest
Day 7 of Trek: Mweka Camp (10,150 ft) to Mweka Gate (5,500 ft)
Final descent through lush rainforest to Mweka Gate. Collect your summit certificates and say goodbye to your mountain crew before transferring back to Moshi.
Distance: 6.5 mi | Hiking Time: 4-6 hours | Habitat: Rainforest
Altitude Considerations
Important information about altitude sickness and acclimatization
Before your trip, consult your doctor about altitude medication. Some climbers choose to take medication to help prevent altitude sickness, while others do not—this is a personal medical decision based on your individual health needs and preferences.
Signs of Altitude Sickness
- Headache
- Nausea/vomiting
- Dizziness
- Fatigue
- Loss of appetite
- Shortness of breath
Prevention Tips
- Pole Pole: Climb slowly ("pole pole" in Swahili)
- Hydration: Drink 3-4 liters of water daily
- Rest: Sleep well and conserve energy
- Gradual Ascent: The 7-day route helps with acclimatization
How to Train for Kilimanjaro: A Step-by-Step Guide
Climbing Mount Kilimanjaro is a life-changing adventure, but it demands physical preparation and mental resilience. With the right training plan, you’ll boost your chances of reaching the summit safely and enjoying the journey.
1. Understand the Challenge
- Altitude: Kilimanjaro stands at 5,895m (19,341ft). Altitude sickness is a serious factor.
- Endurance: Treks are 5–9 days long with daily hikes of 4–8 hours.
- Terrain: Varies from rainforest to alpine desert and rocky trails.
2. Build Your Endurance (Start 3-6 Months Before)
- Hiking Practice:
- 2–3 hikes per week.
- Increase to 6-8-hour hikes with elevation gain (+500–1000m) weekly.
- Practice carrying a daypack (7-10kg / 15-20lbs).
- Cardiovascular Fitness:
- Walking uphill on a treadmill, stair climbing, cycling, or swimming.
- Aim for 45–60 min sessions, 3-4 times per week.
3. Strength Training (2-3 Times/Week)
Focus on:
- Legs: Squats, lunges, step-ups, calf raises.
- Core: Planks, Russian twists, mountain climbers.
- Back & Shoulders: Rows, deadlifts, overhead presses (to carry your pack).
Pro Tip: Use resistance bands or light weights to mimic trail demands.
4. Improve Your Balance & Stability
- Exercises: Single-leg stands, stability ball exercises, and agility drills.
- Helps prevent injuries on uneven and rocky terrain.
5. Altitude Acclimatization (If Possible)
- If you live near mountains, do high-altitude hikes.
- Consider hypoxic (low-oxygen) training masks or altitude simulation sessions if available.
6. Train with Your Gear
- Break in your hiking boots & socks.
- Train with your backpack loaded.
- Get used to trekking poles.
- Wear layered clothing to practice regulating your temperature.
7. Prepare Mentally
- Trekking Kilimanjaro is a mental challenge.
- Practice mindfulness, breathing exercises, and positive visualization.
- Learn to stay motivated during long, tiring ascents.
8. Rest & Recovery
- Don’t overtrain. Include rest days.
- Stretch, foam roll, and get enough sleep.
- Gradually taper your workouts 1-2 weeks before departure to allow your body to recover.
9. Final Weeks Before Departure
- Long back-to-back hiking days to simulate the trek.
- Focus on endurance over speed.
- Maintain hydration and nutrition habits.
10. Stay Healthy
- Strengthen your immune system pre-trip.
- Follow a balanced diet.
- Consult a doctor regarding vaccinations and altitude medication (like Diamox).